

In This Article Show
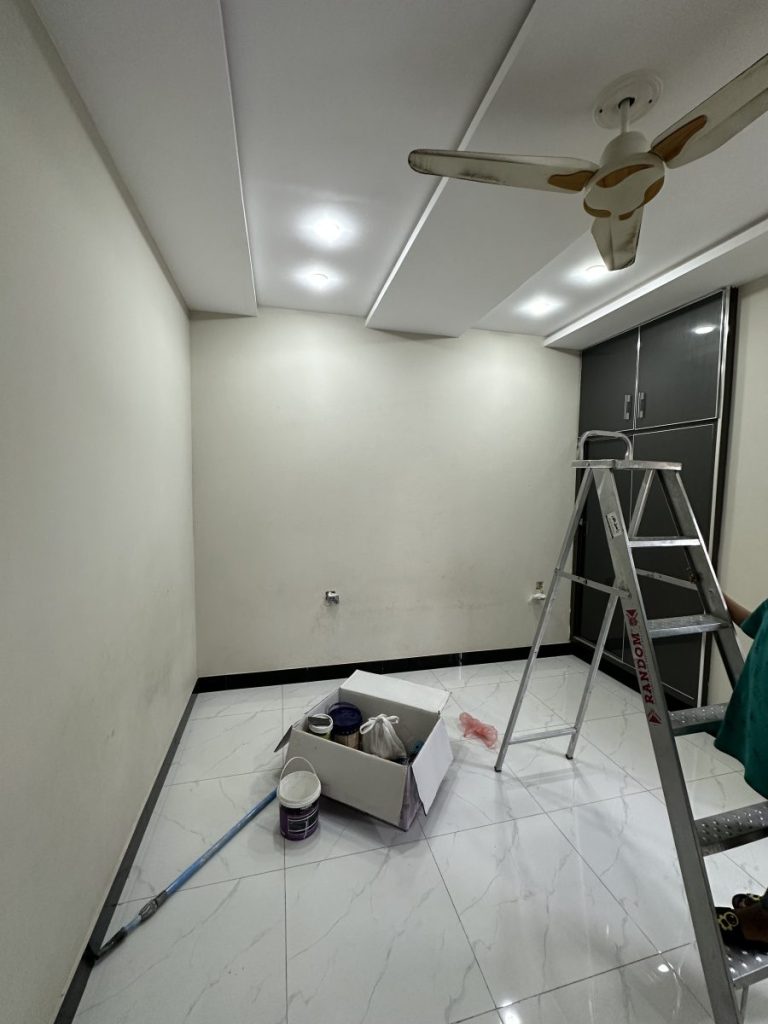
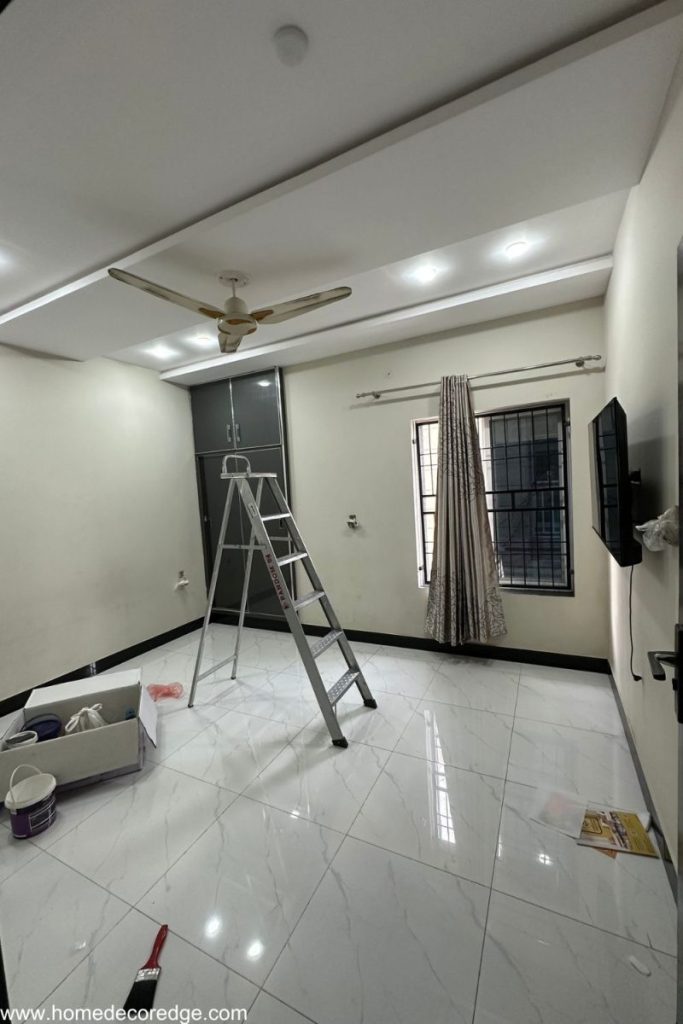
I never planned to renovate our bedroom. Honestly, it just kind of happened — the way most good things do. I was scrolling through Pinterest one night, completely zoned out, and then I stopped. One image. That was all it took. I looked around at our bedroom — the same room we’d handed over to the kids for a while — and thought, we deserve this.
So my wife and I decided to take it back. And transform it completely.
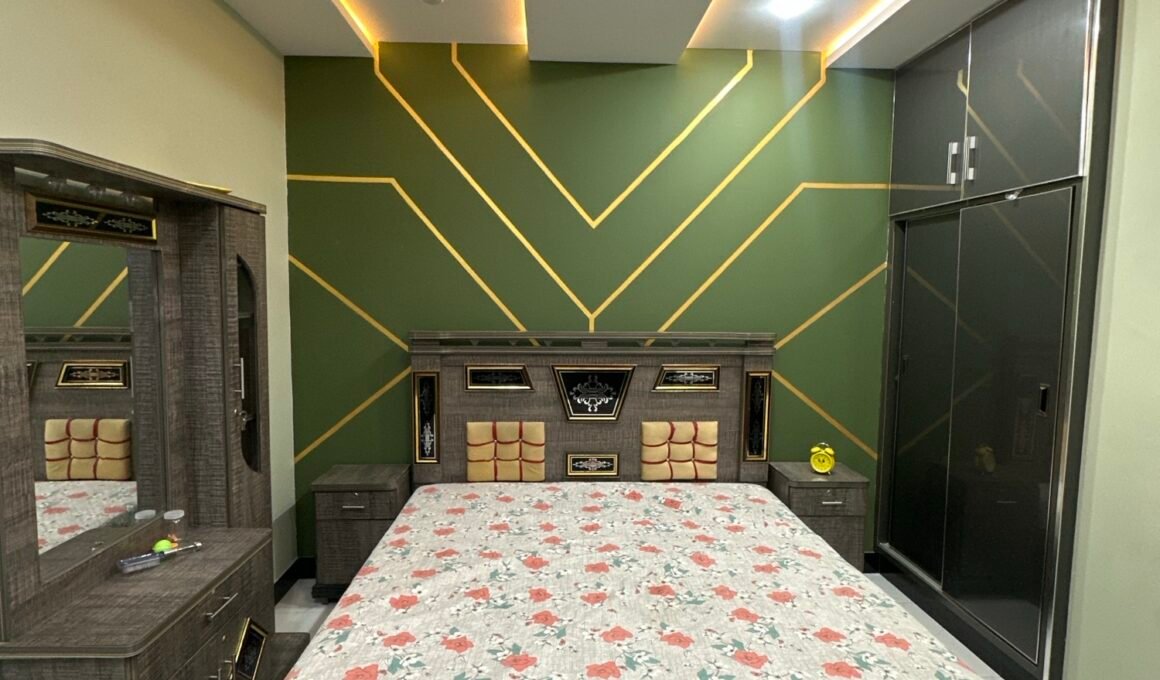
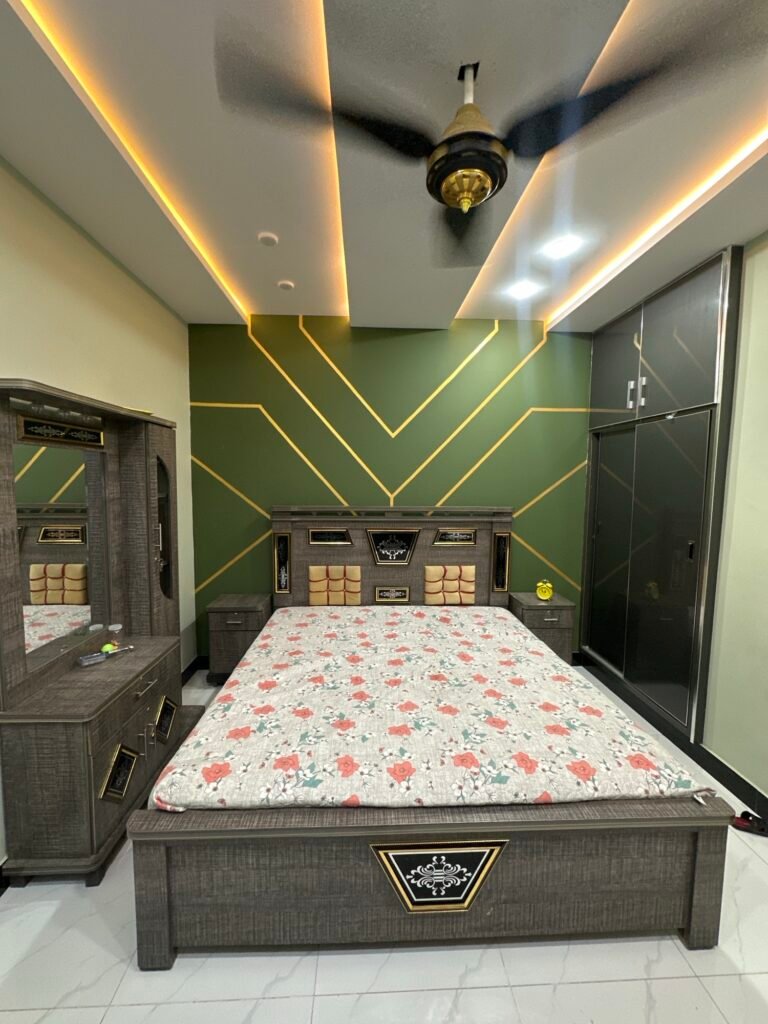
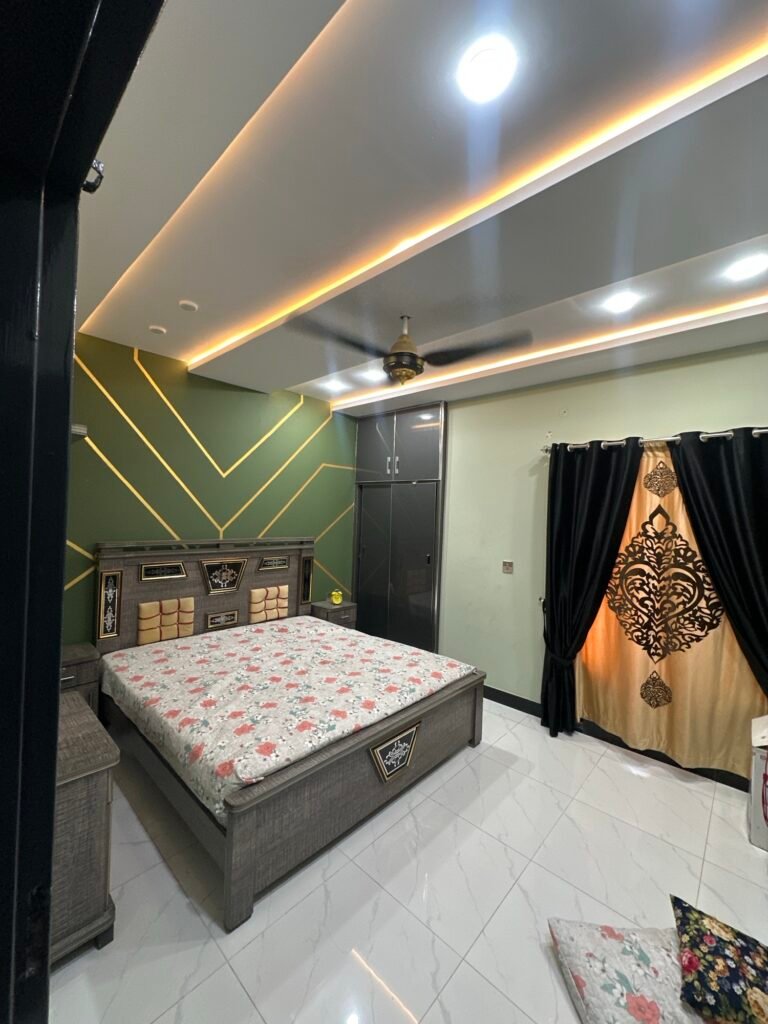
This is the full story of how we turned a plain, forgotten room into a moody, olive green bedroom with a geometric gold accent wall — in just 5 days, on a budget anyone can pull off.
This post contains affiliate links. If you purchase through these links I may earn a small commission at no extra cost to you.
Why We Chose Olive Green
When I first started searching for bedroom makeover ideas, I kept coming back to the same thing — deep, moody wall colors. Not the safe beige. Not plain white. Something that actually feels like a real room.
Olive green — or more specifically, a dark sage green — kept showing up in the most beautiful spaces. It’s warm without being yellow. It’s bold without being overwhelming. And when you pair it with gold accents, it goes from nice to absolutely stunning. If you’re still figuring out your color direction, our bedroom color palette ideas are a great place to start.
We went with Dulux paint for the walls, and I have zero regrets. The coverage was incredible — exactly what you need when you’re going from a light wall to something this deep.

Dulux Paint
The exact paint we used — incredible coverage, rich color payoff, and long-lasting finish.
Check Price on AmazonThe Geometric Accent Wall — The Part Everyone Asks About
Okay, let’s talk about the accent wall. Because this is where the magic happened — and also where things got a little stressful.
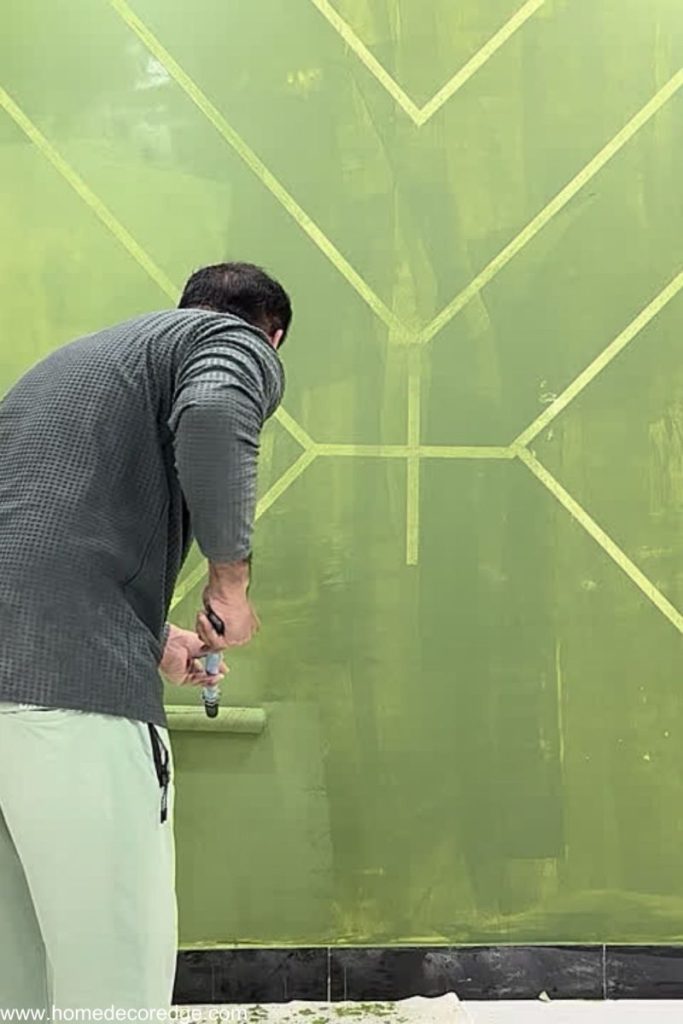
The plan was to create a geometric diamond pattern on the main wall behind the bed using metallic gold paint. Simple enough in theory. In practice? Getting those lines perfectly straight and symmetrical on a 10×12 room wall is a lot harder than it looks on Pinterest.
Here’s exactly what we did:
Step 1 — Mark everything with pencil first.
I cannot stress this enough. Do not skip this step. I measured the wall carefully and marked every single point with a pencil before touching any tape. It took time, but it saved us from a disaster later.
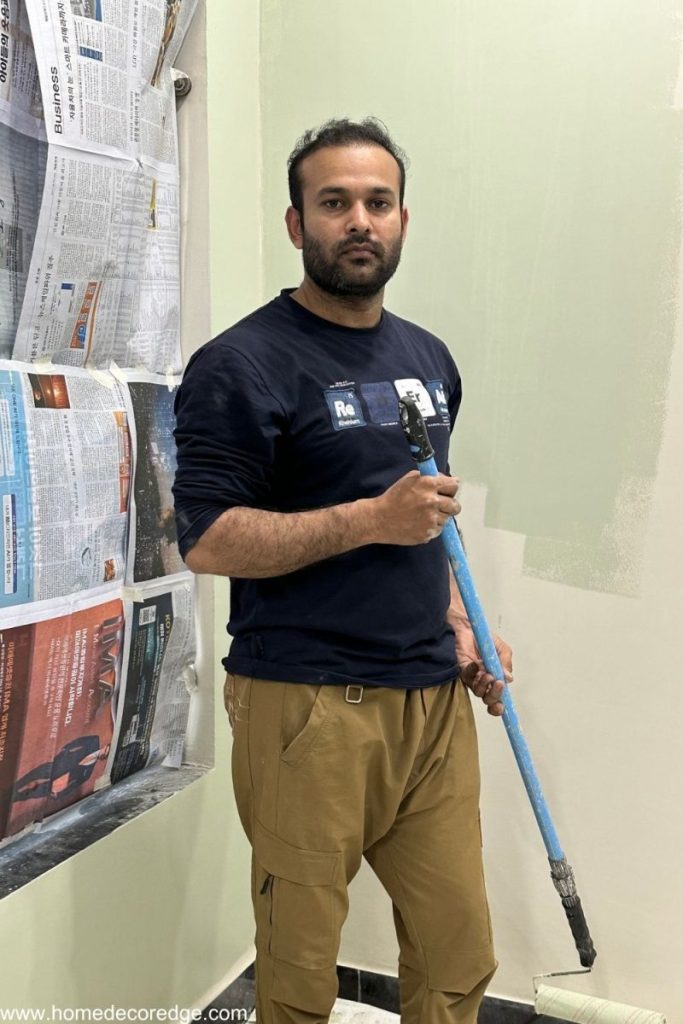
Step 2 — Apply painter’s tape along every pencil line.
We used a high-quality painter’s tape and pressed it down firmly on every edge. The cleaner your tape lines, the sharper your geometric pattern will be. This is not the place to rush.

Painter’s Tape
This is what we used — clean edges every time, no bleeding, no mess.
Check Price on AmazonStep 3 — Paint the geometric shapes with metallic gold.
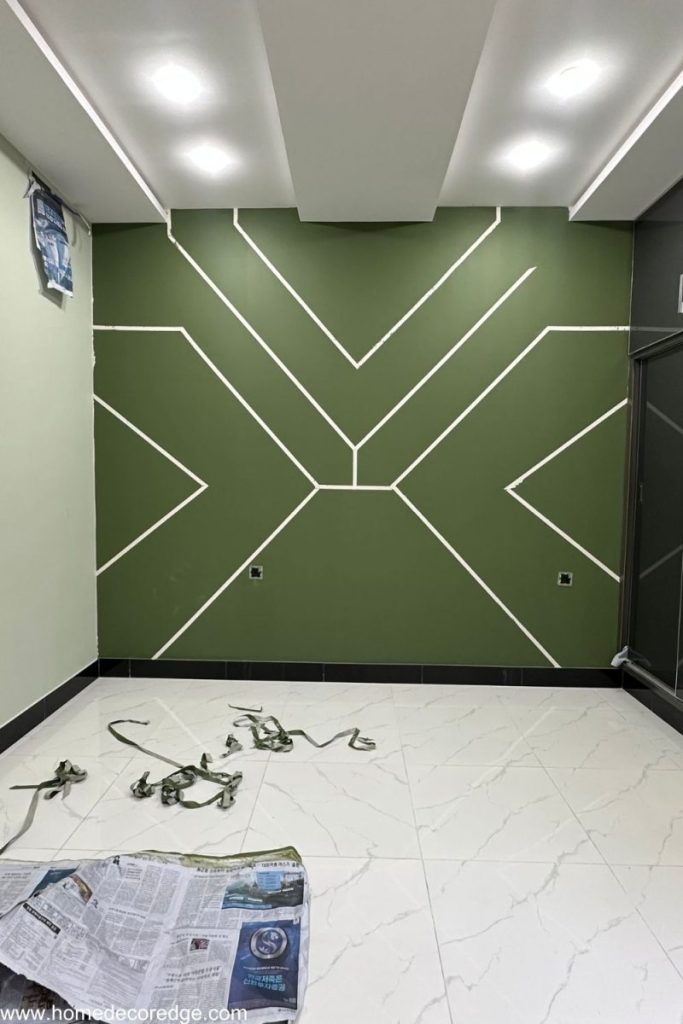
Once the tape was down and the base olive green coat was fully dry, we painted the geometric shapes with metallic gold paint. The shimmer this added to the wall is hard to describe — it catches the light differently throughout the day. In the morning it looks subtle. At night with the room lights on, it glows.

Metallic Gold Paint
This is the exact metallic gold we used for the geometric pattern — the shimmer is absolutely gorgeous.
Check Price on AmazonStep 4 — The tape reveal. (The most satisfying moment of the entire project.)
Peeling the tape off is genuinely one of the most satisfying things I’ve ever experienced in a home project. The lines were clean, the pattern was sharp, and it looked exactly like what I had saved on Pinterest — maybe even better, because it was ours.
We used a quality brush and roller set throughout the whole project, which made a huge difference in getting smooth, even coverage — both on the base coat and the metallic details.
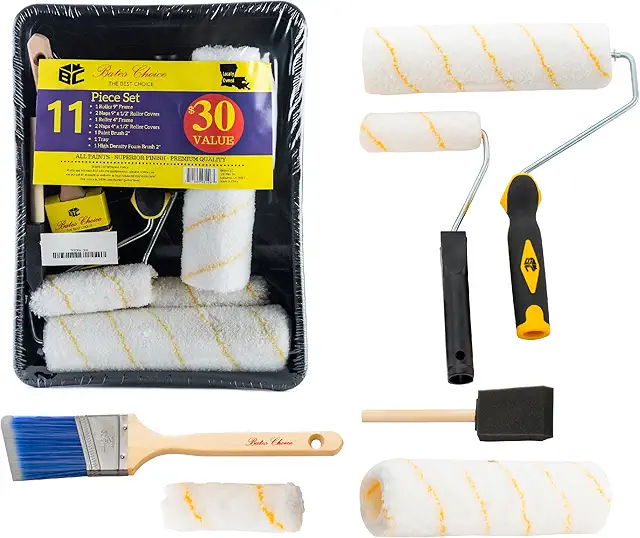
Paint Brush & Roller Set
A good brush and roller set is non-negotiable — this one gave us smooth, even results every time.
Check Price on Amazon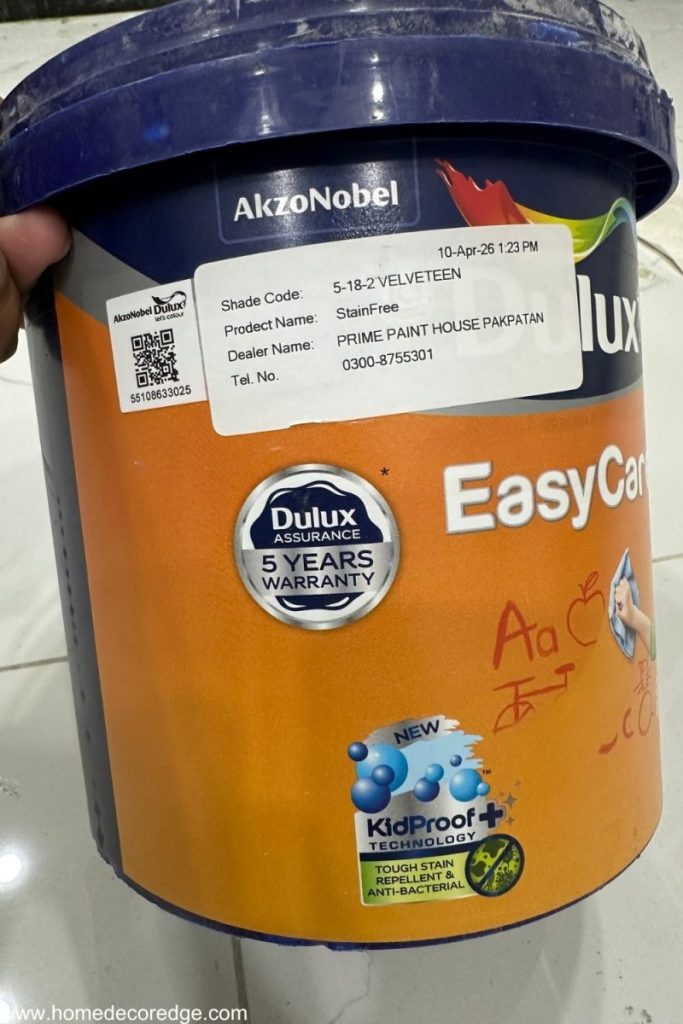
Putting The Room Together
The walls were done. Now came the part my wife had been looking forward to the most — styling the actual room.
We already had our grey bed, dressing table, and nightstands from before. The goal was to bring in pieces that would complement the olive green and gold without competing with it. Every decision was intentional.
The Curtains — Where The Room Really Came Together
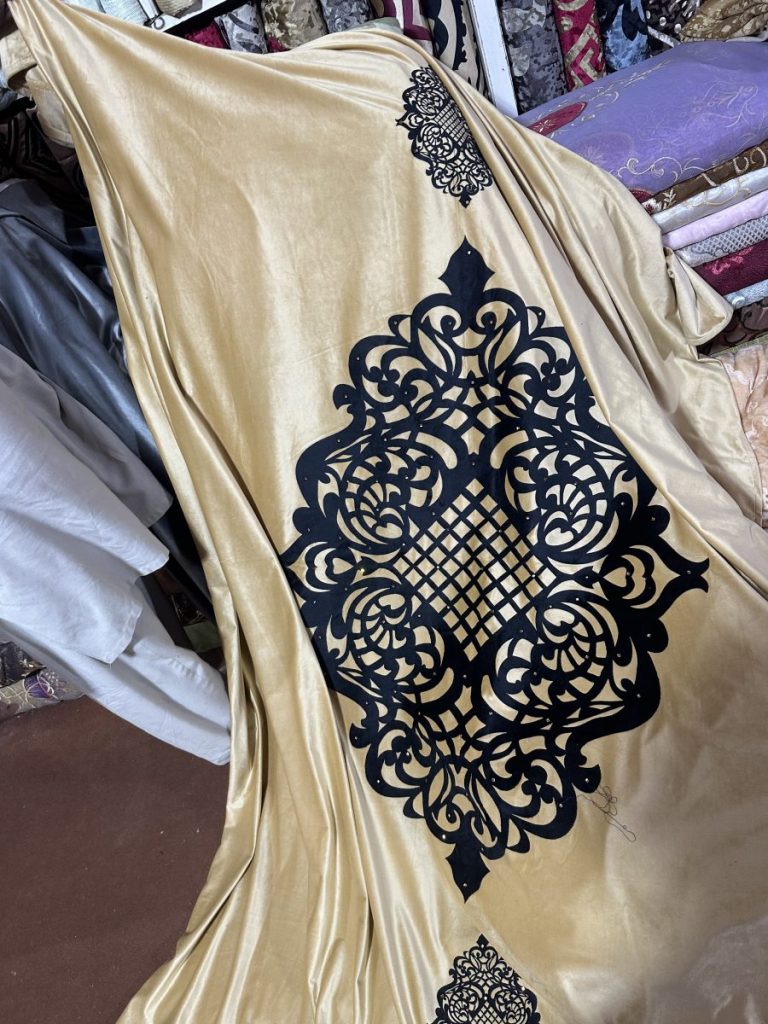
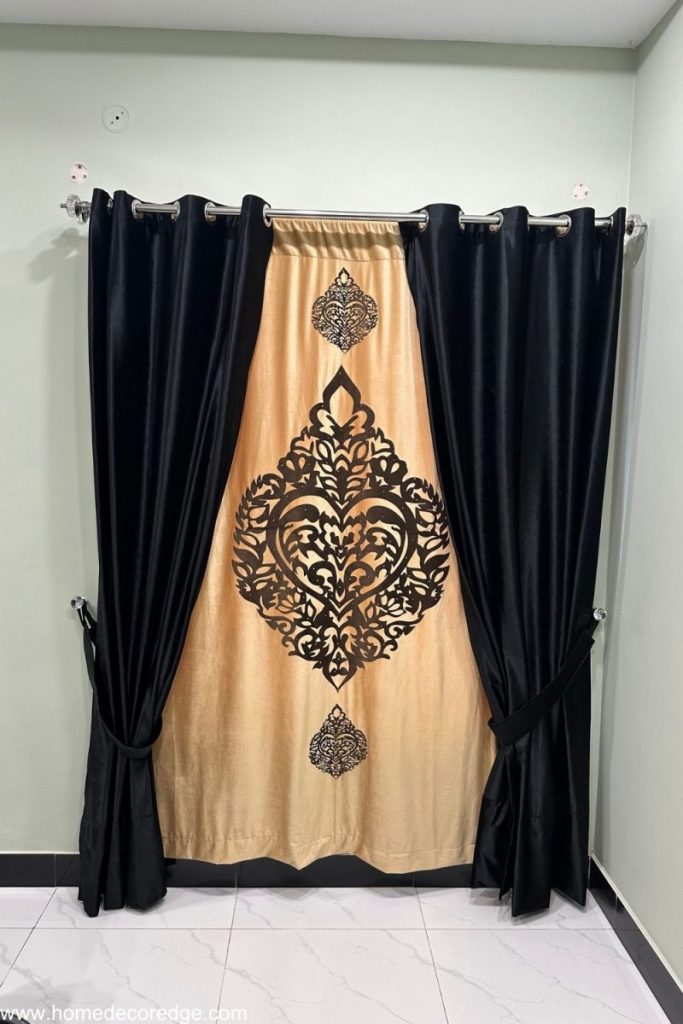
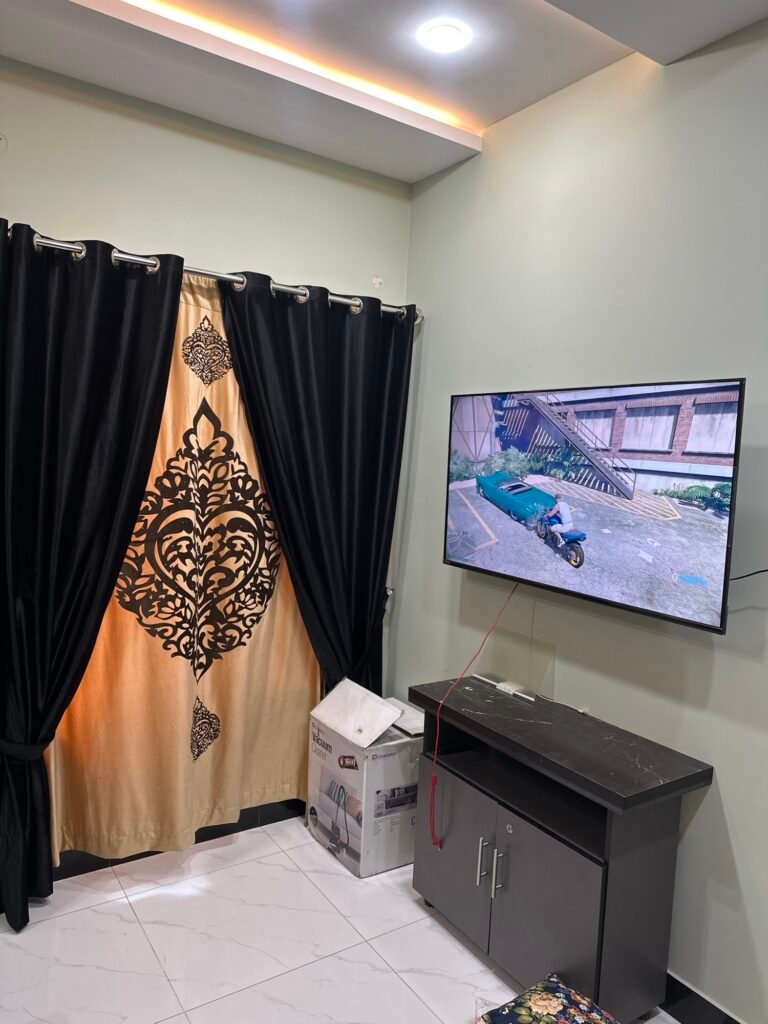
If the accent wall is the statement, the curtains are the finishing touch that ties everything together. We went with a double curtain setup — a golden velvet curtain as the main drape with two black velvet curtains layered over, held back with a belt. The combination against the olive green wall is something else entirely.

Golden Velvet Curtains
Lush, heavy, and absolutely stunning — these gave the room an instant luxury feel.
Check Price on Amazon
Black Velvet Curtains
Layered over the gold curtains and tied back — this contrast is what makes the whole window look designed.
Check Price on Amazon
Double Curtain Rod
A double rod is essential for layering curtains — this one is sturdy and easy to install.
Check Price on Amazon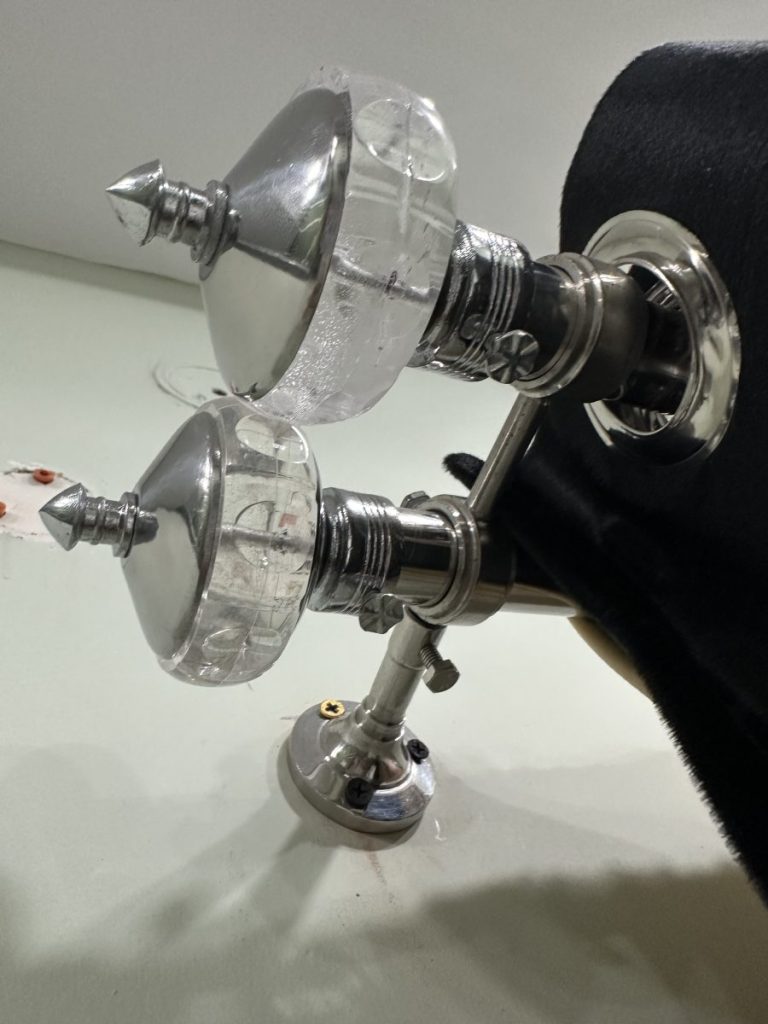
The Rocking Chair — The Detail That Makes People Stop
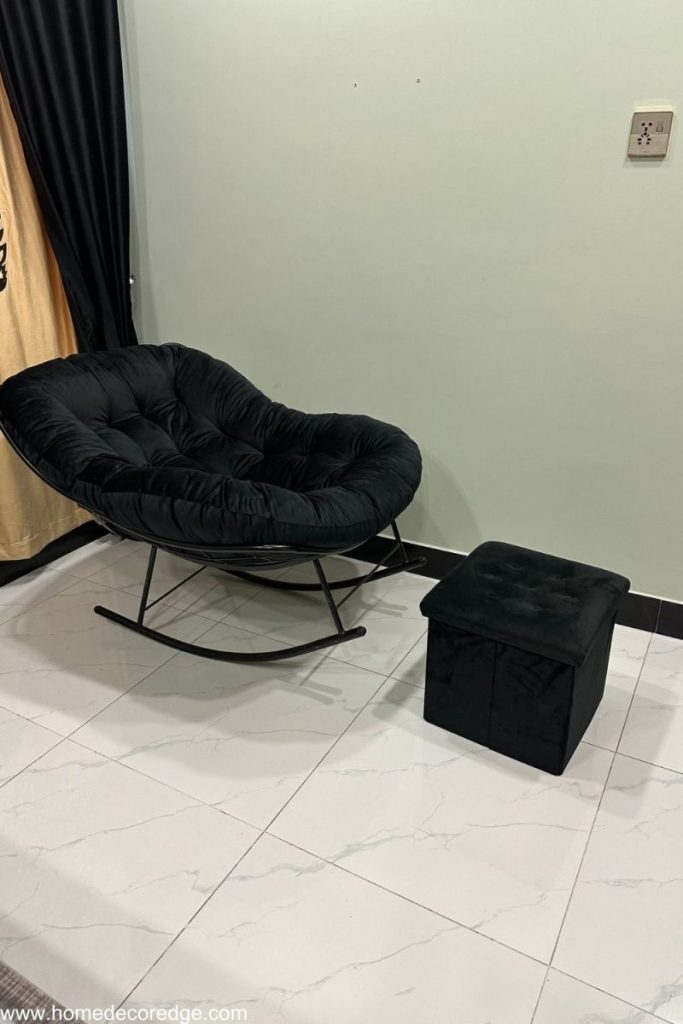
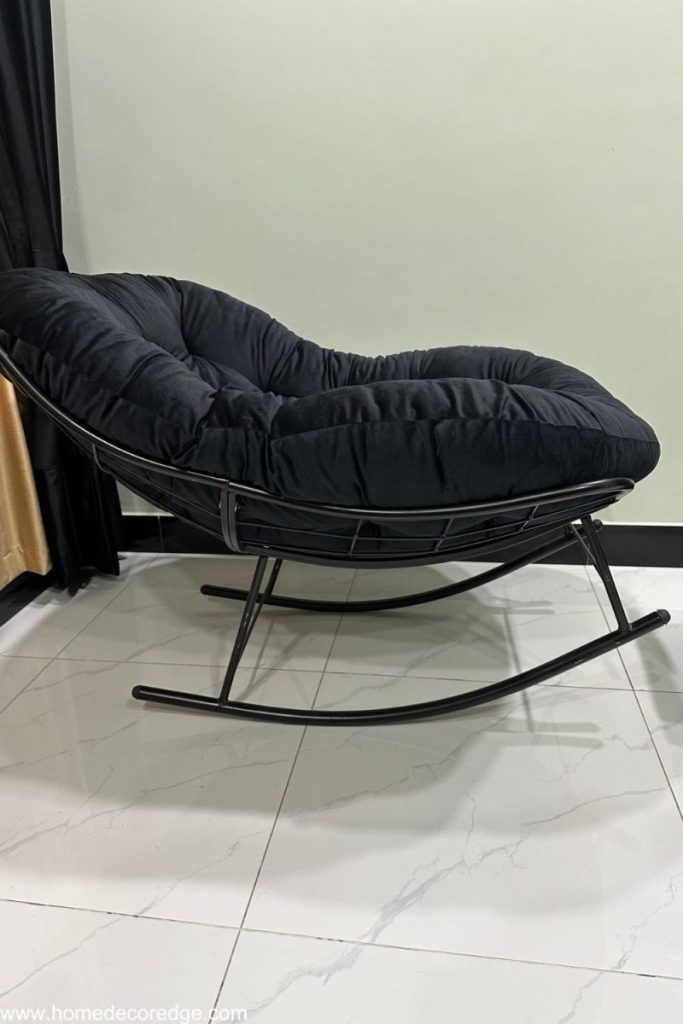
This was the one piece we bought specifically for this makeover, and it became everyone’s favorite part of the room. A black iron rocking chair with a small black velvet side table — tucked into the corner, it created a little reading nook that feels intentional and cozy without taking up much space at all in our 10×12 room.
If you’re working with a small bedroom, a rocking chair in the corner is genuinely one of the best things you can do. It adds character without bulk. We actually got inspired by some of the cozy reading corner ideas we’d bookmarked — that post is full of great nook setups if you want to take yours even further.

Iron Rocking Chair
This is the exact chair we got — solid, beautiful, and it adds so much personality to the corner.
Check Price on Amazon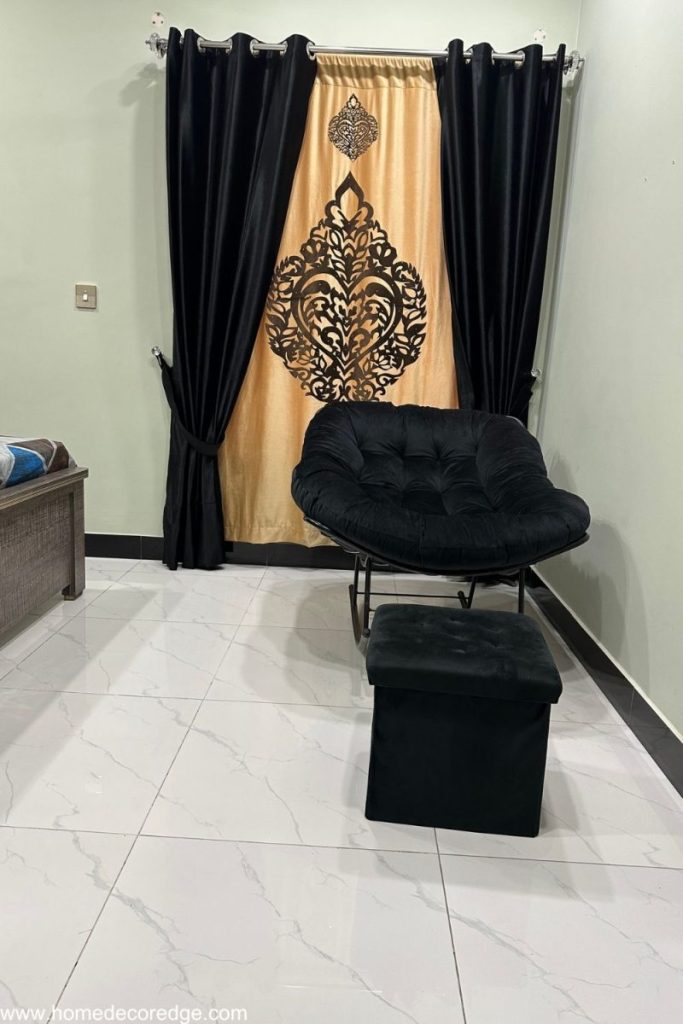
The Full Reveal
Five days of work. Two people doing it together — my wife and I, no professionals, no shortcuts. And the result is a bedroom we genuinely love walking into every single morning.
What The Whole Thing Cost
I want to be honest about this because I know budget is the first question everyone has.
| Item | Cost |
|---|---|
| Paint supplies (Dulux + metallic gold + tools) | ~$100 |
| Curtains (golden + black velvet) | ~$80 |
| Iron rocking chair | ~$100 |
| Bed, dressing table, nightstands | Already owned |
| Total | ~$280 |
For a complete bedroom transformation — including an accent wall that looks like it came out of an interior design magazine — $280 is something I’m genuinely proud of.
If you want more inspiration before or after your makeover, our 60 bedroom inspiration ideas covers every style and budget — worth a look.
A Few Things I Wish I Knew Before Starting
1. Pencil marking is not optional. If I had started taping without marking first, the geometric pattern would have been off and there’s no fixing that once the paint is on.
2. Let each layer fully dry. We rushed one coat on Day 2 and had to redo part of it. Patience is genuinely part of the process.
3. Small rooms can handle bold colors. Every article online will tell you to use light colors in small rooms. Our 10×12 room with dark olive green walls feels bigger and more intentional than it ever did in plain white.
4. Do it with someone you love. My wife and I did this together and I think that’s part of why the room feels the way it does. It’s not just decorated — it’s ours.
If you’re thinking about a bedroom makeover and keep putting it off — this is your sign. You don’t need a designer. You don’t need a huge budget. You just need a plan, the right supplies, and a free weekend.
Ours took five days. Yours might take less.
Loved this bedroom makeover? Save it to your Pinterest boards and share it with someone who needs a little bedroom inspiration!
